We’re back from our break and back to the back. It’s time to begin serious work on the rear of our guitar.
If you remember our previous posting, this is going to be a expanse of flamed maple, decorated with an aestheticode pattern that is large enough to be scannable from some distance away, perhaps through a shop window or even by an audience at a venue.
Nick begins by cutting the maple into two sections that can then be ‘bookmatched’, a luthier’s term for carefully matching them up to give a pleasingly symmetrical pattern of grain.

Bookmatching two pieces of flamed maple for the back
He marks out the shape of the guitar on these pieces before cutting them out and gluing them together to form a single back piece.
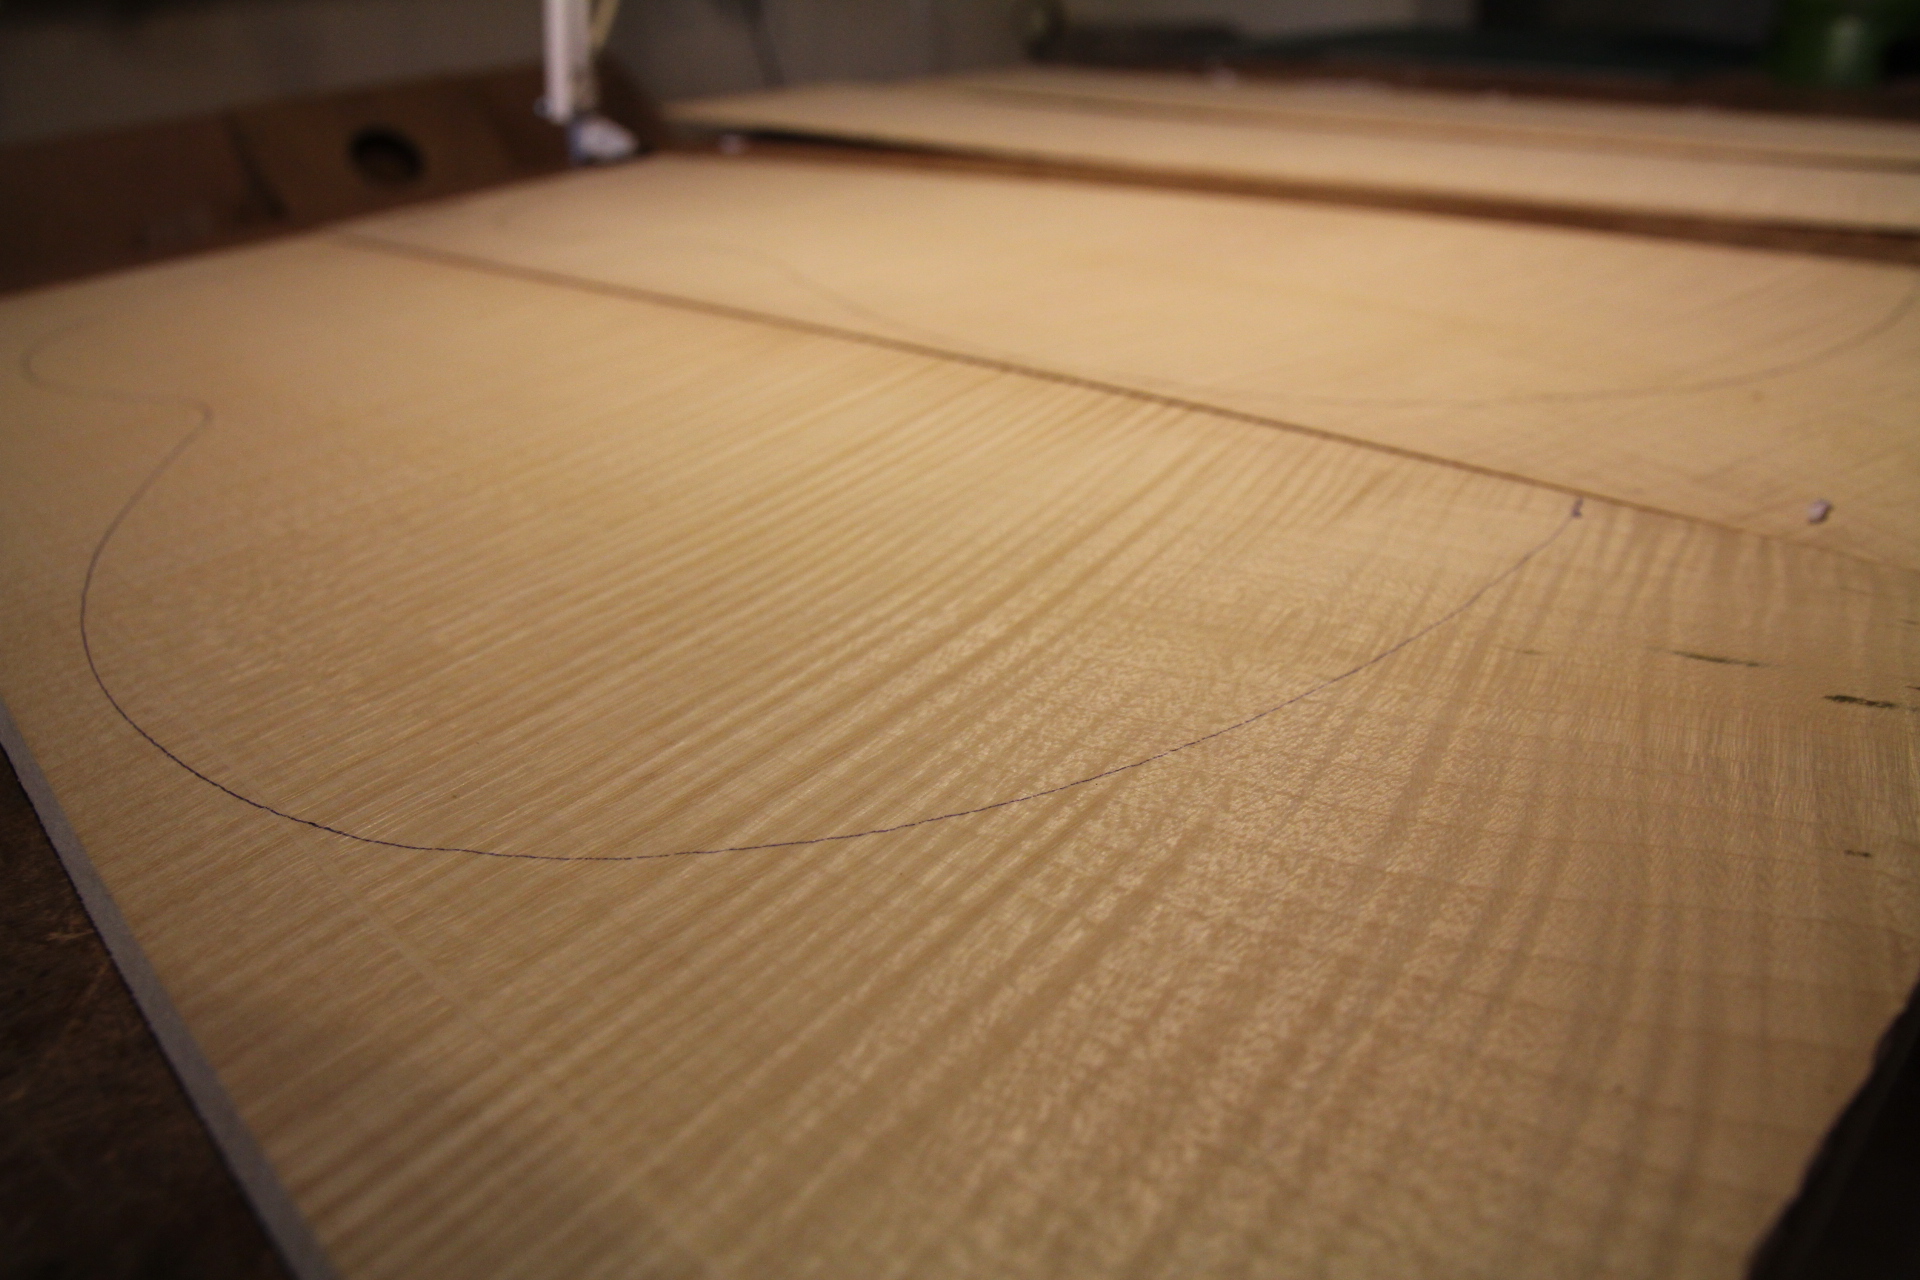
Marking out the shape of the guitar
Then it’s off to our friends at Nottinghack once again to make use of the laser cutter. The etch of our pattern has to precisely align with the wood so that its centre line exactly follows the join between the bookmatched halves. Adrian and master laser-etcherist (hmmm, wonder if this is exactly the right title?) Dominic Morrow take their time to carefully position the backpiece in the laser cutter, weighing it down so that it won’t move (even in the unlikely event of a UK scale earthquake as discussed previously).

Weighed down in the laser cutter and ready to go
They take a deep breath and press the ‘start’ button. There’s no turning back now as we watch the pattern emerge before our eyes …
(and at this point it’s time for a big thank you to Adrian for editing the video and indeed for all of the photos that appear in here and many of our other posts too!)
After an age, we can remove the back from the machine and the first impression is good. The pattern looks correct and is properly aligned with the grain. Of course the scorching from the etching process needs cleaning up by sanding before we can really test it, but we think that it’s ready for Nick to begin the next stage.

The result of laser etching the back
This involves filling in the etched areas with inlay. We have chosen to work with Indian Rosewood, a lovely dark wood which will contrast with the maple. We use the laser cutter to cut out the inlay pieces. The result is something of a jigsaw puzzle for Nick.
He begins the careful work of inlaying the pieces, making sure that the finish is crisp and clean…

Fine detail of the Indian Rosewood inlay
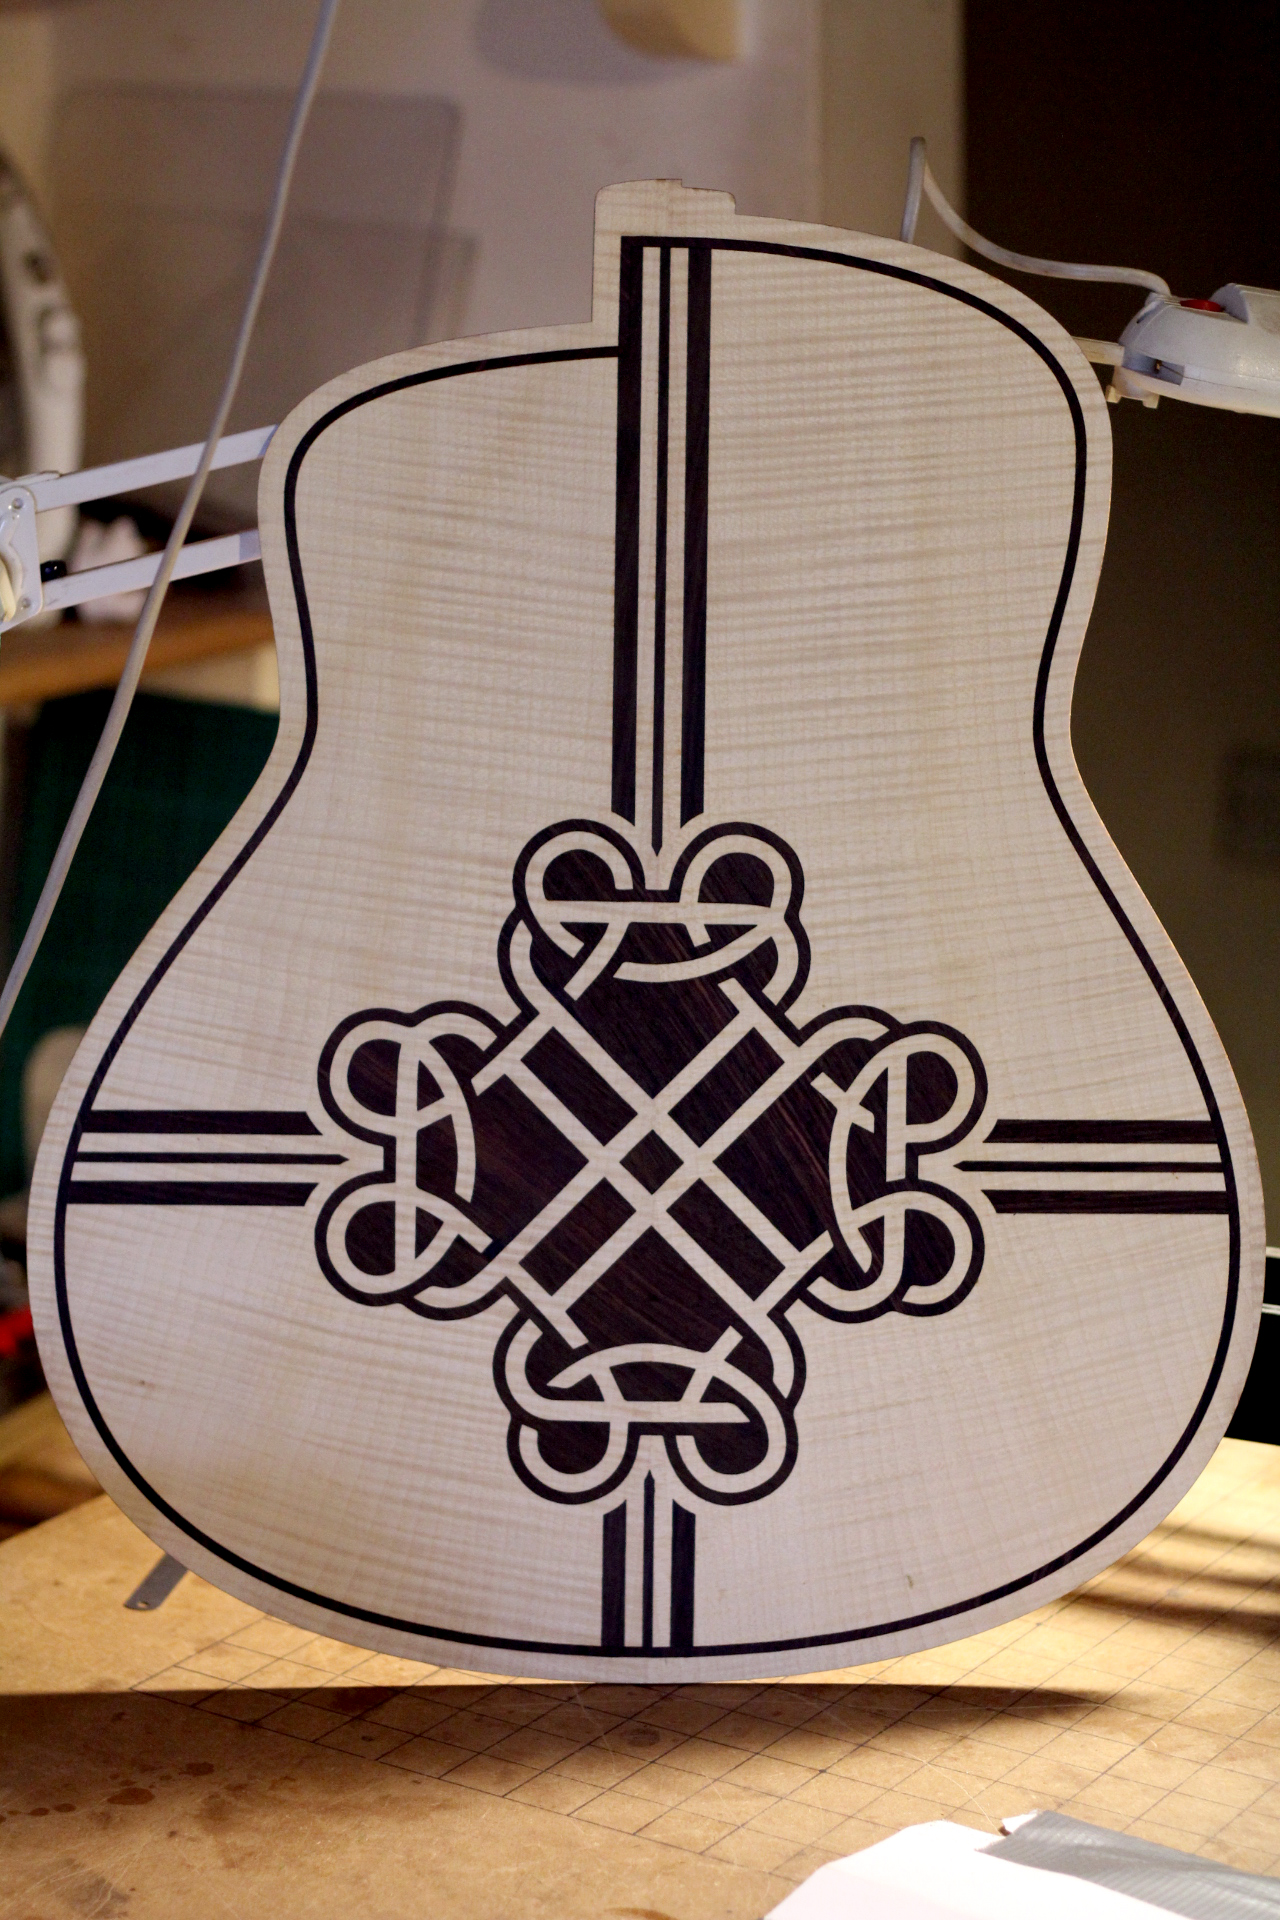
.. until the entire pattern is finished.
Will it scan though? All along we’ve wondered about the grain of the wood. It certainly looks beautiful, but might it confuse the scanning software? It’s a big moment as we take out our collection of phones to try it out … and the result is it passes! We’ve produced an inlayed a decorated back that – we think – looks gorgeous while also being interactive. Don’t believe us? Why not download the aestheticodes app right now (search for ‘aestheticodes’ in the AppStore or Google Play) and try scanning the image below.
It’s another big step forward. Now all we need are some sides to attach it to …
The completed back

Reblogged this on stevebenford and commented:
Etching and inlaying the back of the Carolan guitar
LikeLike
Pingback: 15. Secrets | Carolan Guitar